On a second(ish) attempt, I have successfully installed Known to my own domain on a DreamHost server! My first attempt, late last year, was briefly noted in my post Learning by doing is…hard.
A few weeks ago, I took another look at the installation, hoping for more documentation or even a one-click install — which Ben from Known suggests is a future possibility (they seem really busy, so even getting a personal response to my email is hugely appreciated).
A new version was available, so I elected to delete everything in my server directories, and replaces the files with the unzipped new version. There they sat for some time as I worked up the energy and courage to have another go.
Today was the day! I want to emphasize that I consider myself very much a layperson; getting Known up and running on a shared server was far from obvious, but it was far from impossible, too. At the end of the day, everything I needed was available from just a couple webpages and with pretty simple tools.

Installing Known on DreamHost
Pointing your browser to your Known instance’s URL brings up the auto-installer, the second page of which shows a list of requirements. Uh-oh — the installer can’t determine if I have Apache mod_rewrite installed, which allows for normal, human-readable URLs. This was also the case last year. Some Googling led me to suspect that creating the .htaccess file would solve this problem, so — as it my wont — I ignored this. The worst that could happen is another failed install!
Moving forward with the installation, I needed to create a fresh MySQL database (accomplished from my account panel at DreamHost) and enter some details in to the installer. This allows Known to create a config.ini file. I had to create a new directory named “Uploads” in the root of the Known installation and make sure that the permissions gave Write access to Group. Okay…directory created, permissions checked, database details entered, and…first major failure! Known could not connect to my database. User error on that one…I gave a bad name for my database. So I pulled up the config.ini file in Notepad++ and made the correction.
And…next major failure! Known can’t find the information it needs from my database.
Digging into Known’s developer docs provides the solution. The Known installer will not automatically provision the database. I had to go to the /schemas/mysql folder, download mysql.sql, and upload this to my database on the phpMyAdmin dashboard.
Refreshing the page allowed the installer to continue.
I also then created the .htaccess file by copying the contents of htaccess-2.4.dist and saving as .htaccess, placing this in the root of the installation.
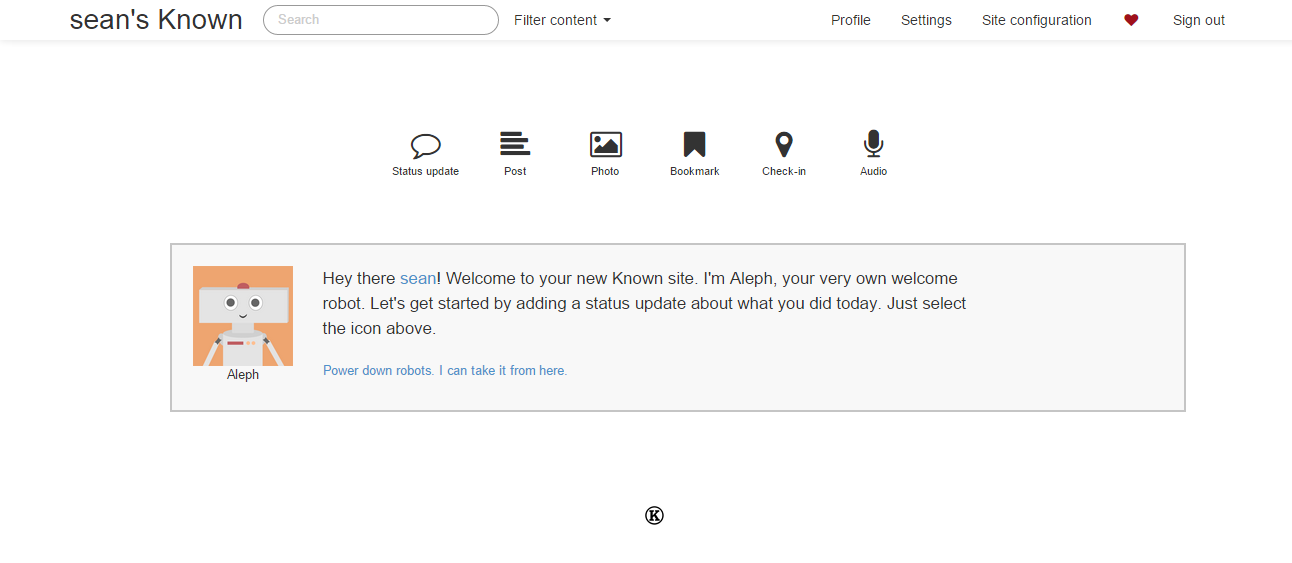
Success! I created my admin user account and was off and running.

To summarize, here is what I had to do and the resources I used:
DreamHost
- Created a subdomain for Known
- Uploaded the latest Known files (available here)
- Created a mySQL server host (hostname) and database
Files
- Fix the config.ini created by the Known installer (because of my own error)
- Create an .htaccess file that included the contents of the htaccess-2.4.dist file included in the installation files
- Create a directory called /Uploads in the root of the Known instance and ensure that permissions included Group –> Write
Tools
- Notepad++ with the FTP plugin (for easy editing and uploading of text files)
- FileZilla (for easy browsing of the Known directories & files on my DreamHost server)
- The Known installer
- phpMyAdmin (for uploading the mysql.sql schema to my database)
- Known developer docs, specifically:
That is pretty much it! Configuring my Known site involved some other fun, such as creating new Twitter and Facebook apps (not at all hard for the former, a little confusing for the later) and so forth.
The fruit of my labor is here: http://known.neonacorns.org
P.S. – Thank you, Erin and Ben, for your work, passion, curiosity, creativity, and general coolness. Getting my Known instance going was a personal challenge that I am proud to have completed successfully — thanks for that, too.